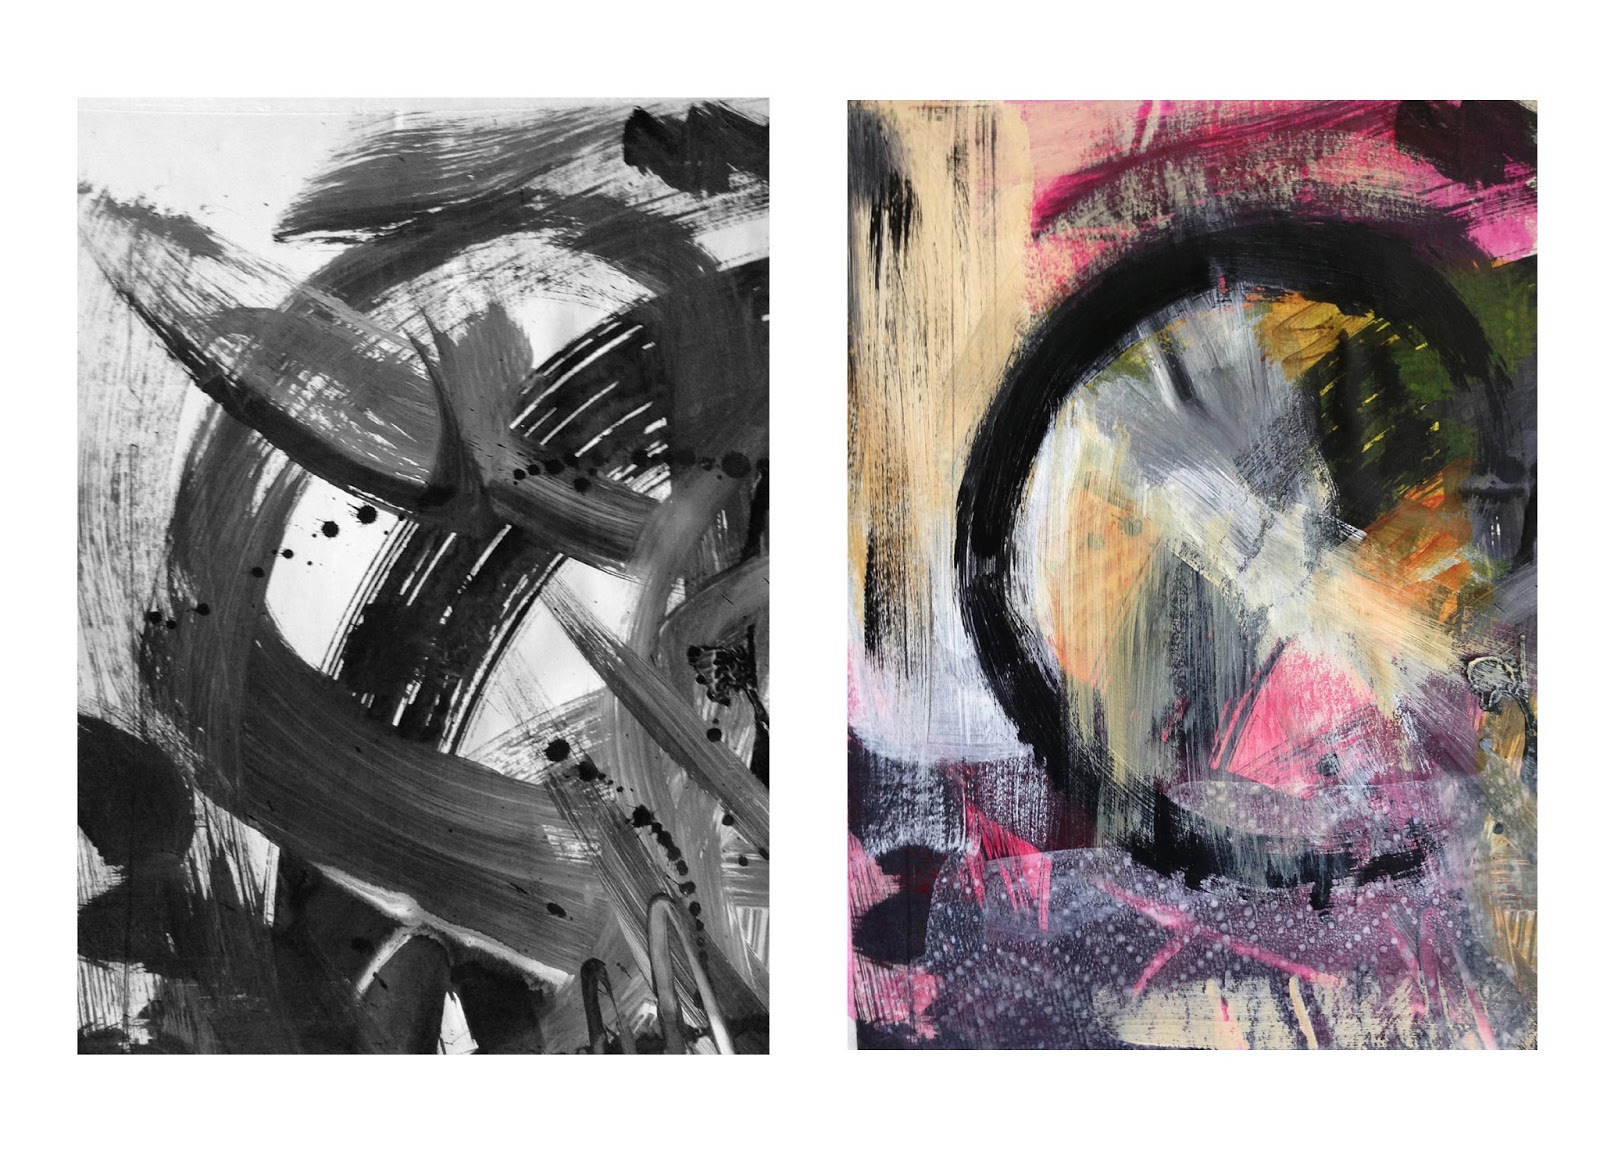
Tuesday, July 16, 2013

Jane Davies Sketchbook Practice Lesson 5

Activity 1 — Collage on Black Wash

I arranged these in the same order as I posted them in Lesson 4 for comparison with before and after.


Top Lft: B/W painted collage paper and oil pastel
Top Rt: B/W painted collage paper circle with acrylic paint/wash
Bottom Lft: Red/Gold collage paper with gold Sharpie lines
Bottom Rt: Blue checkered collage paper and white fabric paint scribble

Top Lft: Torn B/W collage paper strip with blue pastel.
I dropped this piece and it landed face down in some Quinacridone Gold.
At first I was alarmed. Then in the spirit of Jane's experimental
approach, I just smeared the paint and went with it.
Top Rt: Strip of colored collage paper and black felt tip squiggles
Bottom Lft: B/W painted collage paper and color collage paper w/cut out
Bottom Rt: Strip of B/W collage paper and red Prisma color scribble

Top Lft: Painted collage paper and metallic gold bubble wrap circles
Top Rt: Color collage paper doughnut and blue acryllic circles made from sequin waste.
Bottom Lft: I added the painted strip on the right first but then the piece
really needed a large, dark area on the left so I added a piece of B/W painted
paper I cut from previous paintings. The piece needed something more to integrate
it so I added a third element–the aqua watercolor pencil curved lines

Top Lft and Top Rt: B/W collage paper with acrylic paint and  wash
Bottom Lft: B/W painted collage paper with red pastel scribble circle
Bottom Rt: Collage circle of painted paper with white gel pen scribble


Activity 2—Working From Thumbnail Sketches


I learned a lot from this activity. I realized early on that I had chosen a weak composition that didn't offer me a lot of variety; the two shapes were too similar and not that interesting and the three elements didn't interact that well. But I decided to just go with it and see what I could come up with; how much could I vary the pieces in an attempt to make them look different. Because of this, I focused on materials and techniques, trying to create interest through colors and textures, and I really enjoyed this. It also finally made sense to me that these are "sketches," ideas and experiments not finished pieces so in some way the composition didn't matter; I could always fix this if any of these inspired me to do a finished piece. It also helped me to hone in on how to improve on composition in the future. So here they are along with the original thumbnail.


Oil pastels with printed rice paper

Acrylic paint with scribble sgraffito and collage paper

Acrylic paint background with hand made collage papers
and black oil pastel line. I had a layer of B/W collage paper
first that I didn't like and put new paper over these
so some of the B/W edges still show.

This is B/W acrylic paint background with collage paper
from our large scribble paintings and a gray and
white oil pastel line. I like this one because the shapes are
not as recognizable so it looks more like pattern. I painted
all these larger than the canvas size, going outside the
lines (something I NEVER would have done as a child)
and then cropped in for the photo. I included the
entire image below because I particularly like the rough
edge on this one; it gives it a different feel.

Acrylic wash background with oil pastels and some graphite
pencil. I again used some sgraffito in the shape on the left.
There is a smudge from the red pastel
that was not intended but what can you do; it is now
officially part of the piece.

Acrylic paint with white Prisma color pencil and black
oil pastel. I did a light wash of white acrylic, then blotted
some of it up with a paper towel to get the pattern on the
bottom portion of the right-hand shape.

This was a real stretch for me. Not my usual "style." I have
also forgotten how to work with watercolor, it's been such a
long time, so I used  this piece to begin to reacquaint myself
with the process (painful...I'd forgotten how hard it is).
I squiggled an arc for the line with white fabric paint.


Activity 3 — One-Line Blind Self-Portraits

I had so much fun with this I did several and added to some. I definitely got over wanting to look good! Some are more successful than others but I really enjoyed this activity and will continue to do this. I may even add more to some of these. I wish I had done all of these on heavier paper and with waterproof ink because now I am a bit limited on what materials I can use to add to them.

I experimented with starting my drawing in different places. One thing I noticed was when I started drawing the left side of my face, beginning with the eye area, most of the facial features were in better relationship to each other as far as position on the face; when I started with the eye region on the right side, the mouth always ended up higher, in the nose region.

This is one of my favorites, maybe because I added some
hair so I don't look so much like a man!


I added oil pastels to this one

Here are two I did with white and watercolor wash.
I used a white crayon for the one on the left. I used a Prisma Color
pencil for the one on the left. The image isn't as strong
but there was something ghostly about it that I liked.


Here are Jane's comments:

Activities 1 and 3—
EXCELLENT WORK! Arlene, you have done a great job on both of these activities, really digging in. You got fabulous variety in the paint and wash pieces - inventive and interesting approaches. The self-portraits are superb! You let loose and played with these - the additions are just great. LOVE the magenta afro you gave yourself. Fabulously expressive images, indeed.

Activity 2—
Excellent, Arlene! You got a TON of variety in this exercise, and you observed all the right things: how limited the sketch is, how the size and shape of elements is important, but can be offset by other aspects. I like the way you interpreted the curve as a line in some, and a shape in others, and interpreted the shapes as outlines in a couple of them. This is exactly the sort of exploration you can get out of a composition sketch.

Really great job here.

Tuesday, July 2, 2013

Rediscovered Inspiration

While I was working on a project for Jane Davie's workshop, I needed something heavy to flatten one of my pieces so I pulled out some of my art books. Two of those books were Richard Diebenkorn and Bay Area Figurative Art. What synchronicity! I had forgotten about these artists and I absolutely love this school of painting with it's representational and abstract style, rich colors and layered textures. Very timely because Janes's work has so many of these elements as well. So happy to have rediscovered these artists so I can weave their influence into my development.


Some of Diebenkorn's work


Wednesday, June 19, 2013

Last part of Lesson 4

These small B/W paint with wash pieces will be used is the next lesson for Jane's Sketchbook Practice. So here are the pieces before I add on to them.


Tuesday, June 18, 2013

A Couple Additional Pieces

I was inspired by another student's work and did a couple of other pieces for Lesson 4. Making progress with color and texture.


Jane Davies' Workshop – Lesson 4

This week's assignments were very fun, very freeing, although I'm pretty sure burned out a little, I got so into it. Wrapping it up today with some 7" x 7" India ink paintings to add to next week. I'll probably wait to post those with Lesson 5. Here is my work and my posts for Lesson 4.


I really got into this and found it hard to stop. I loved painting large–so wonderfully freeing–but I realized that I was ending up with a lot of grey; not enough B/W contrast; need to work on this. And again realizing that it is difficult for me to keep things simple. For this reason I really liked applying the paint with the credit card. Here are the large originals.


I added some white India ink over the paint here


Then I cropped these and found so many great little compositions. But, as I started to add to them, I found it difficult to start; feeling a little too precious about adding anything. I was also finding that I wasn't liking the pieces when I added color or other elements; didn't quite know what to do. Also, I wasn't sure I even liked the little compositions anymore. Then I watched the Working Large video and was so taken with the way Jane worked with such abandon, such freedom (I particularly liked it when you took the sheet of your palette with the leftover paint and just pressed that onto the painting!) that I was inspired to just go for it. So that's what I did. On many of these you can hardly even tell what was underneath; I just kept adding things until the piece looked like something moderately interesting. I became obsessive about this and finally had to stop ( I still have more cropped pieces but will have to save those for another day). I've arranged these as side-by-sides so you can see the before and after.


Added black, white and a dab of red oil pastels

Again oil pastels

Oil pastels and I scribbled with a pointed skewer on right
A combination of Windsor Newton water based inks and oil pastels

Acrylic paint and some sgraffito
Mostly acrylic paint. I really struggled with this one.
Didn't like the colors I started with so I just started  painting.
The texture at the bottom was the imprint left from the paper
towel after I blotted up the white paint.
There's a lot going on here but it's one of my favorites
with all the layering and texture.
Acrylic paint, black conté crayon and collage. I extended this one
to the edges of the sketchbook just for fun.
Black conté crayon, oil pastels and white acrylic paint.


Here was Jane's comment; very insightful and motivating:

FABULOUS job, Arlene! Yes, there is a tendency to go gray if you move black and white paint around too much. Trying to keep some pure black and pure white forces you to be economical in your mark-making. GREAT job on the large pieces and on the cropped pieces! You came up with a beautiful variety of ways to amend the original black and white. SO glad the Working Large video was helpful. It so often happens that we start feeling precious and intimidated when working on a piece. It takes real effort and commitment to let go of that and go for it. The real key is to get in the habit of doing a LOT of work, so that you gain: (1) confidence in the idea that there is always more where this came from, i.e. your well will not dry up, you can always produce more are, and (2) practice making art and resolving pieces. I still have to make that effort to let go and not get precious, but it happens most easily when I am working in quantity, working in series, and see each piece as just another experiment, not A Precious Work Of Art. Noticing that resistance and then making the effort to move through it is a HUGE step. You did an awesome job!


Keep on keeping on; keep on experimenting --just the encouragement I need because I started to get a little frustrated again with the layered contour drawing exercise in this lesson... Here's my post:


I don't feel very successful in my results for this activity. Maybe I'm just expecting too much. I also feel like I am struggling with color. I did have fun doing the wet-on-wet self-portrait but then I don't really like the way the contour drawing on the top looks—too heavy. Although my husband said he likes it. Could just be one of those days...


No comments from Jane yet. I'll update when/if I hear from her on these.

UPDATE: Comments from Jane:


"Arlene, that self-portrait is amazing! I think the layered contours show real exploration. You just begin to get some kind of interesting stuff going on with these - the third and fourth show really nice tension between the washy wet contour and the fine line contour. Then, as I said, the self-portrait is fabulous! Excellent dynamic between the washy wet and the crisp line.

Maybe you were expecting too much from the layered contour. Remember the wet-in-wet and line pieces from Lesson 3? You said you were out of your comfort zone on that one, but you pushed through and came up with great combinations of wet work and line. This is just a more directed version of that. Look back at your Lesson 3 work and see if you can find something that excites you about the pieces you made. Not necessarily as PIECES, as compositions, but as examples of how line and wet-in-wet can create exciting conversations together."


God bless her...